How to Add Virtual Try-On to Shopify (No Code, 10 Minutes)
Adding virtual try-on to your Shopify store used to require a developer, a five-figure budget, and weeks of work. In 2026, the same feature takes 2 minutes, costs nothing to start, and installs directly from the Shopify App Store — no code, no Liquid edits, no developer required.
TryOnCloud merchants report up to 40% higher conversion rates for customers who use the Try On Virtually button, compared to shoppers who only view standard product photos.
What Is Virtual Try-On for Shopify?
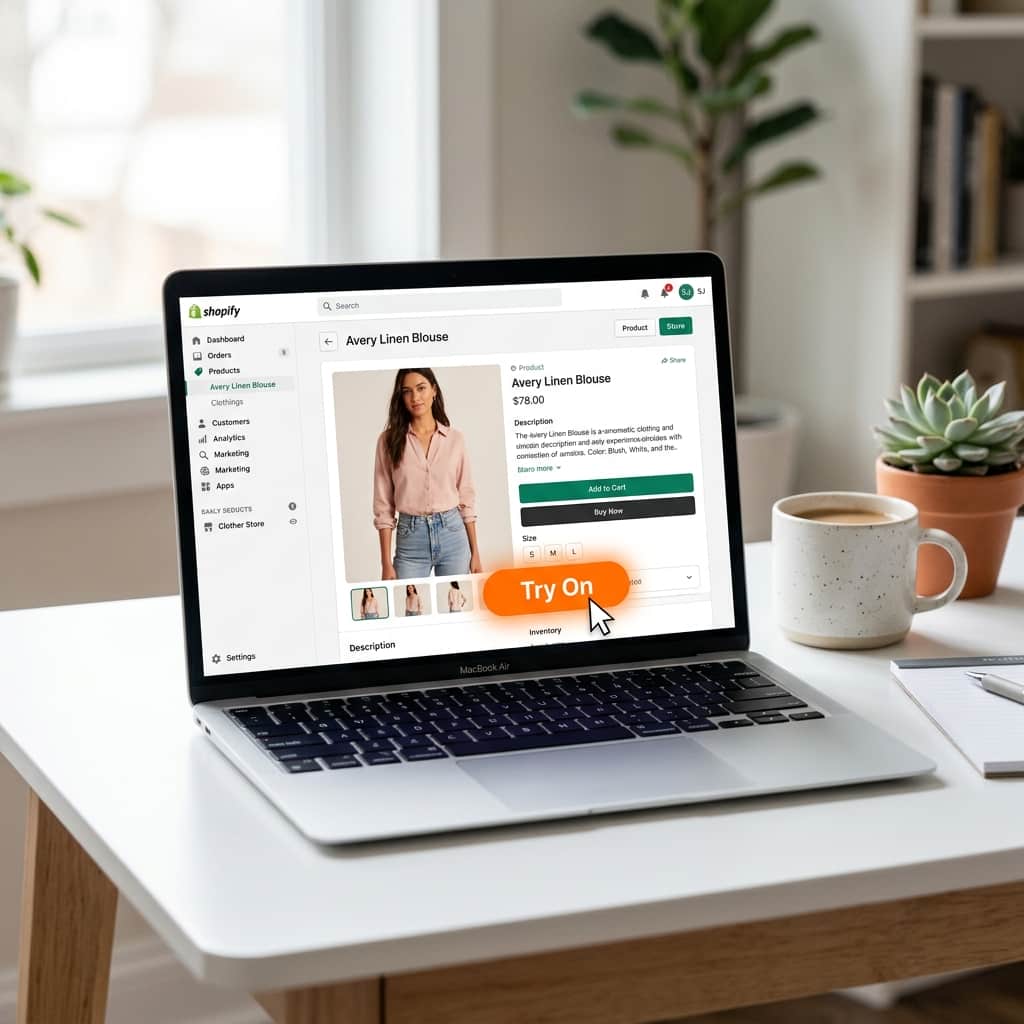
Virtual try-on for Shopify is an AI-powered feature that lets shoppers upload a photo of themselves and see exactly how a garment looks on their body — before completing a purchase. A "Try On Virtually" button appears on your product pages. The shopper clicks it, uploads a photo, and within 7 seconds receives a photorealistic AI-generated image showing them wearing the selected clothing item.
The technology behind this is generative AI — specifically TryOnCloud's proprietary AI model, which understands fabric texture, body shape, lighting, and garment drape well enough to produce results indistinguishable from real product photography. This is not an AR overlay or a simple color filter. It is a full image generation that replaces the product photo with a composite of the shopper wearing it.

Why Every Shopify Clothing Store Needs Virtual Try-On
The average online clothing return rate is 28–35%. The most cited reason customers give for returning clothes is "it looked different than expected" or "it didn't fit." Virtual try-on directly addresses both problems by giving shoppers accurate visual confidence before they buy.
Merchants using TryOnCloud report three consistent outcomes:
Less than 1% of Shopify clothing stores currently offer virtual try-on. For early adopters, the competitive advantage is significant.
Step-by-Step: How to Add Virtual Try-On to Your Shopify Store
The following steps apply to any Shopify store on any plan, including Basic. No developer is required. No theme files are edited. The entire process takes under 2 minutes.
Install TryOnCloud from the Shopify App Store
Go to the Shopify App Store and search for TryOnCloud. Click Install. Shopify will ask you to approve the permissions the app requires — these are standard read permissions for your product catalog and the ability to inject the try-on button block. Approve them to continue.
After installation, you will be redirected to the TryOnCloud onboarding screen inside your Shopify admin.
Complete your TryOnCloud account setup
TryOnCloud creates your account automatically during installation. Your Shopify store domain is linked to your account — no separate signup required. You will land on your TryOnCloud dashboard, where you can see your free plan (10 try-ons/month forever) is already active.
Take a moment to review your dashboard. You will see your API key, your usage counter, and a quick setup guide.
Open Shopify Theme Editor
In your Shopify admin, go to Online Store → Themes → Customize. This opens the Theme Editor — the visual drag-and-drop interface where you configure your storefront layout.
In the top dropdown (which defaults to "Home page"), select Products → Default product to switch to your product page template.
Add the TryOn Button block to your product page
In the left sidebar of the Theme Editor, locate the Product information section. Click Add block at the bottom of the section. In the block picker, find and select TryOnCloud — Try On Button.
The try-on button block will appear in your product page layout. Drag it to just below your Add to Cart button — this placement captures the highest engagement.
In the block settings panel (right sidebar), you can customise the button text, colour, and size to match your store's design language.
Save and verify the button is live
Click Save in the top right corner of the Theme Editor. Your virtual try-on button is now live on all product pages that use this template.
To verify, open any product page on your live storefront. You should see the Try On Virtually button below your Add to Cart button. Click it, upload a test photo, and confirm the try-on generates correctly. First generation takes 7 seconds.
Placing the Virtual Try-On Button for Maximum Clicks
Button placement significantly affects how many shoppers discover and use the virtual try-on feature. Based on data from 312+ TryOnCloud merchants, here are the placements ranked by engagement rate:
Real Results: What Shopify Merchants See After Adding Virtual Try-On
The impact of adding virtual try-on to a Shopify store is measurable within the first month. Here is what merchants consistently report:
Tips to Get the Most from Virtual Try-On on Shopify
Turn Try-On Shoppers Into Leads — Automatically
Every shopper who uses the try-on button is a high-intent buyer. TryOnCloud captures this intent automatically. After a shopper's second try-on, a prompt appears asking for their email to stay updated on the store's latest drops and offers.
This is not a pop-up that interrupts the experience — it appears naturally after the try-on result is shown, so the shopper has already seen value before being asked for anything.
Every guest who submits their email is saved to your Leads dashboard inside the TryOnCloud app. You can see which product they tried, when they tried it, whether they were tagged in Shopify, and export the full list as CSV.
For stores selling Indian ethnic wear, this is especially valuable — shoppers browsing lehengas or sarees for a wedding are highly motivated buyers who may need a nudge to complete their purchase.
FAQ
How do I add virtual try-on to my Shopify store?
Install TryOnCloud from the Shopify App Store, grant the required permissions, then open your Shopify Theme Editor. Add the TryOn Button block to your product page template, position it below your Add to Cart button, and save. The virtual try-on feature goes live immediately — no coding required. The entire process takes under 2 minutes.
Does virtual try-on work with all Shopify themes?
Yes. TryOnCloud's virtual try-on button works with all Shopify 2.0 themes including Dawn, Debut, Impulse, Turbo, Prestige, and any custom theme.
Will adding virtual try-on slow down my Shopify store?
No. TryOnCloud loads asynchronously and does not affect your page speed, Core Web Vitals, or Lighthouse score. All AI processing happens on TryOnCloud's servers.
How much does it cost to add virtual try-on to Shopify?
TryOnCloud gives every account 10 free virtual try-ons every month forever — no credit card required. Paid plans start at $19/month for 100 try-ons.
What clothing types work with Shopify virtual try-on?
TryOnCloud works with all upper-body and full-body garments — tops, shirts, dresses, jackets, coats, and suits. Best results come from product photos with clean, neutral backgrounds.
Can I customise the virtual try-on button on Shopify?
Yes. From TryOnCloud's dashboard or directly in the Shopify Theme Editor, you can change the button text, colour, size, and position.
Ready? Install TryOnCloud on Shopify Now
10 free TryOns every month forever · No code · No credit card · Live in 2 minutes
Related Guides
Add Virtual Try-On to Your Shopify Store Today
10 free TryOns every month. No code. No developer. Live on your product pages in 2 minutes.